Friday, November 18, 2011

Semi-Homemade Kitchen Towel Gift

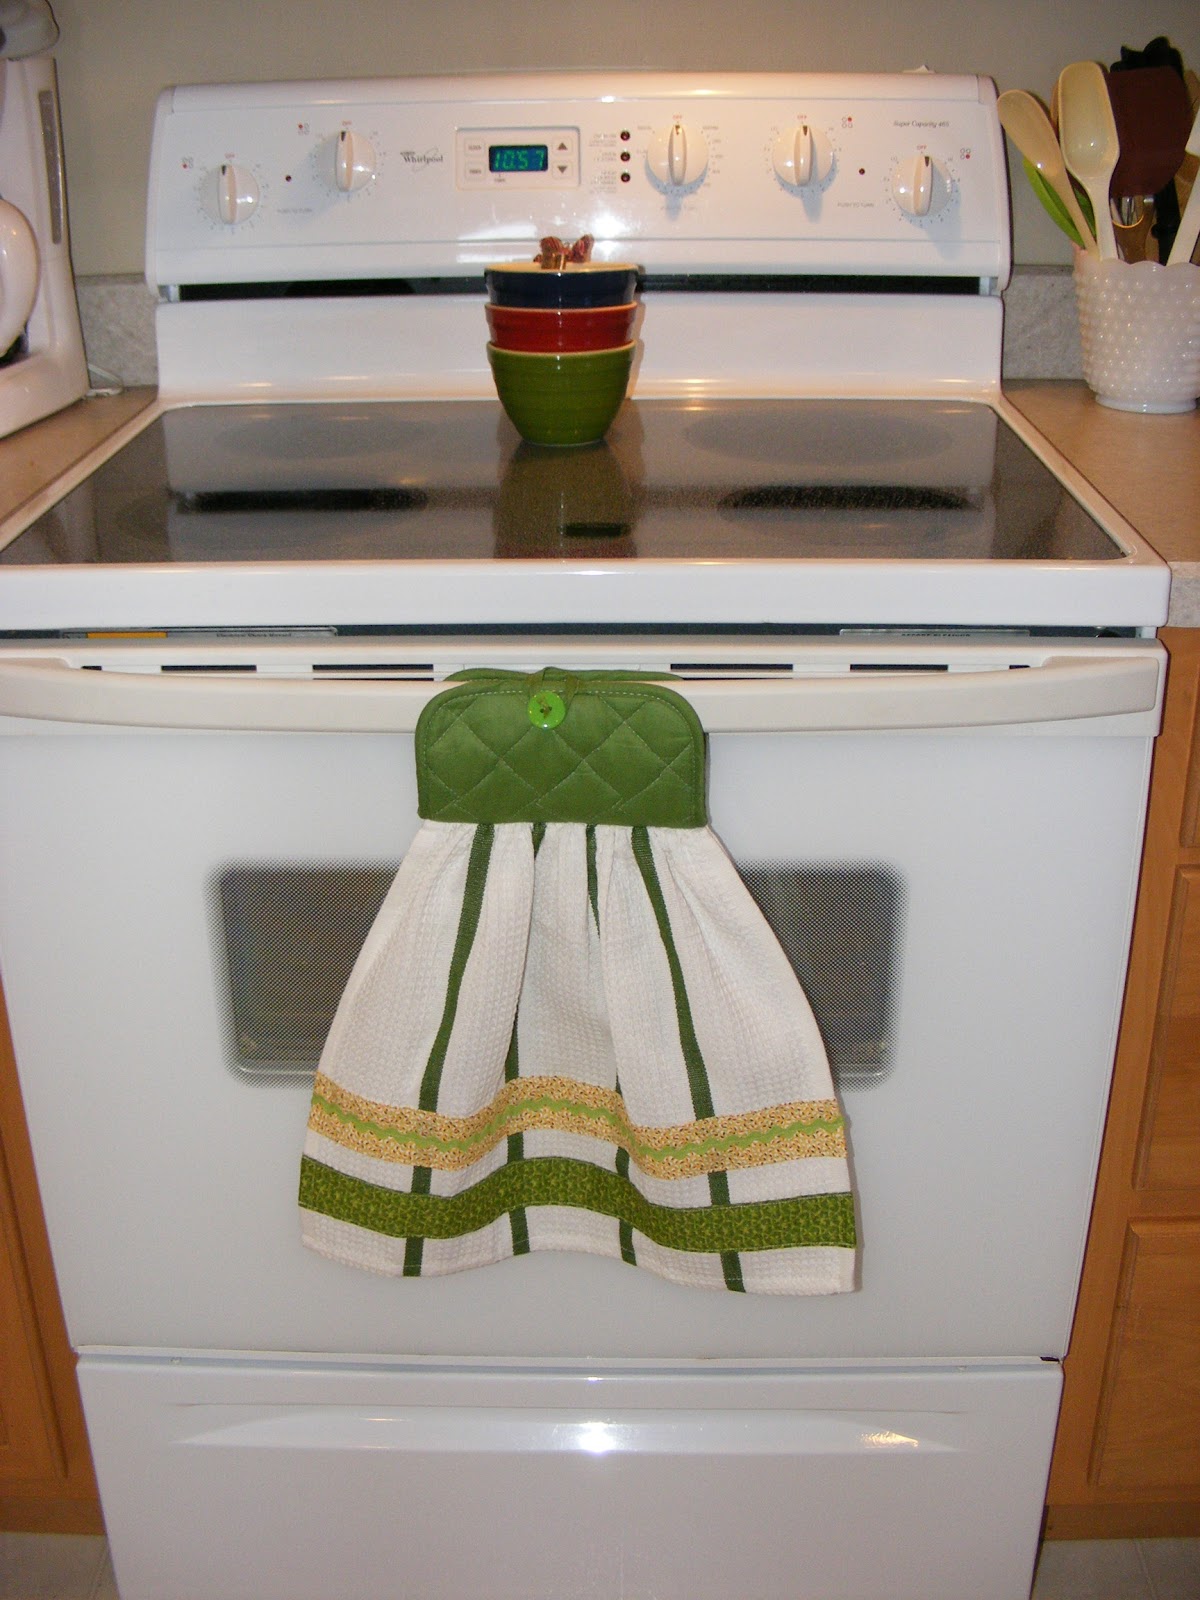
Glory be and Hallelujah!  One Christmas sewing project was completed this morning.  :)  My mom in law has an old kitchen towel that fastens to the stove with a potholder, and she showed it to me and wished for a new one.  I was just winging it, as I tried to make one, but it came out quite nicely.  Hurray!

The supplies needed were easy.
*one kitchen towel...mine actually came from the Dollar Tree!
*one potholder with a loop at the top in the middle
*2 coordinating fabrics in her kitchen colors
*thread
*large button
*rick rack.

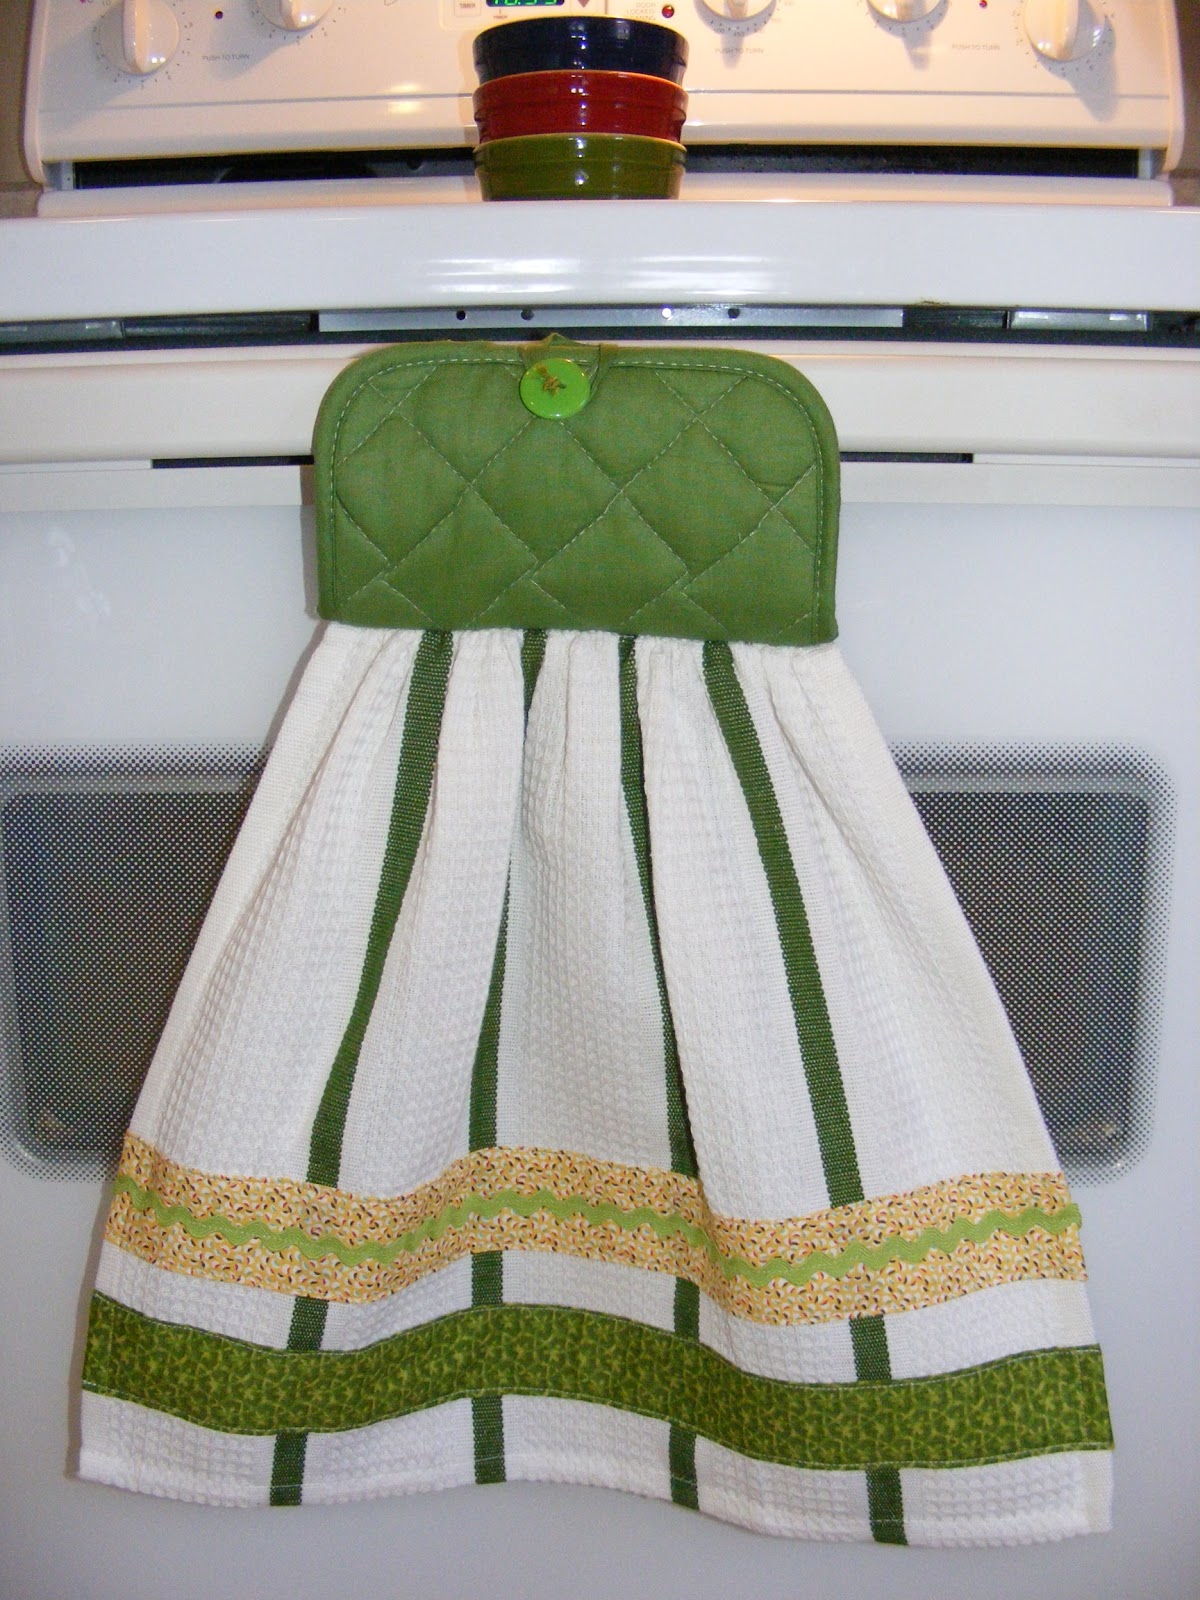
I cut strips of the coordinating fabrics from my stash at home. They were about 1 3/4 inches wide and about and inch longer than the width of the towel.  Iron a narrow hem on each long side, and top stitch them to the lower section of one end of the towel.  This will be the front.

On the back side, I folded that extra length into a nice hem and stitched it down.

Then I gathered the middle of the towel across its width.  I did it alitle bit higher than the very middle so that the front of the towel would definitely hang down without the back of the towel peaking out from under it.  Then pin the right side of the gathered towel to the ride side of the middle of the potholder and sew.  Make SURE that you have it so that the loop will come over the front to fasten around the button.  I suggest you pin it together, make sure it works, then sew it...to avoid frustrating mistakes.

Here is the inside (wrong side) of the potholder after the gathered towel has been sewn on.  This part will not show.

Sew a large button onto the front of the potholder so that the loop fastens over it.  I used embroidery thread and left little ends to tie, for cuteness.

Press the whole thing with an iron.  Oh, and sew on the rick rack if desired.  I decided my towel "needed" something and I had the green rick rack so it was the perfect way to tie it all together.
I'm pleased with how it came out, and I think my mom in law will love it.  Not too hard.  Can be done in small steps 15 minutes here and 15 minutes there.  And it only cost me about $3 total. :)  I don't think it will be the only one I make either.
Mom in law has been told not to read this post...so please keep this gift a secret, K?  ;)

Blessings!
Donna

Linky Parties: 
 My Romantic Home  
Tater Tots and Jello  
Sundae Scoop  
Sunday Showcase  
Made By You Monday  
More the Merrier Monday


Wednesday, November 9, 2011

Porch Chalkboard

Recently I read about the benefits of having a little chalkboard on your front porch...you can greet guests with a little message, and people who stop by when you aren't home can leave a message for you.  Brilliant!  Then I so enjoyed the cute chalkboard at Ellen's home HERE, and that clinched it for me.  Time to use that can of spray chalkboard paint that I bought 9 months ago!


The steps were very simple.  And since this is going outside, I didn't spend money on a nicer frame, nor go for perfection.  I 'shopped' the house for an old 10x13 cheap wooden frame that I hadn't used in years.  Took out the glass, cleaned the glass, then put both the frame and glass on newspaper out in the grass.  I sanded the wooden frame just a bit so the paint would stick, then wiped it clean.

My supplies

It took about 3 light coats of spray paint for both the frame and glass.  So cool how the paint worked GREAT on the glass!  I let them 'cure' overnight, and put them together this morning.  Then made a quick no-sew bow out of green polkadot fabric and stuck it onto the frame with sticky tack.

Used my best First Grade Teacher handwriting to print Autumn Greetings with a big stick of chalk and she was done!  (Hi Gracie Pup!)

Fun, easy, free...my kind of project!! Give it a try...I'm sure I'll enjoy adding different embellishments to the frame for each season.  Christmas will be fun for that!
Thank you so much for stopping by!


Blessings!
Donna


Linky Parties: 
Today's Creative Blog  
Somewhat Simple  
My Romantic Home 
Funky Junk Interiors  
Tater Tots and Jello


Sunday, November 6, 2011

Woodland Theme Baby Shower


My beautiful daughter Lindsey and husband Rich are expecting their first baby in January.  Which means I will be a Mimi for the first time.  :  Excited...ok, ecstatic!! :)  It was a joy and blessing to travel 6 hours north to be at her church baby shower this weekend, given by these two lovely ladies, Kelly and Ellen.


The baby's nursery theme is a Woodland one...it's a darling, fun theme with which to work!  Ellen's beautiful home was the perfect backdrop for all the adorable decorations she and Kelly made.  Here's the chalkboard sign welcoming us by the door.  Rich and Lindsey are keeping their baby son's name a secret, so Ellen likes to call him 'Lil Nut' for now.  :)

A darling skinny pine tree greeted us inside the entry, decorated with paper mushrooms, pinecones, and a garland of acorns.

Darling!  Lindsey loves owls.

The food table was the cutest ever, and held many yummy brunch treats! 
Here we are...the radiant new mommy in the middle with the first time great-grammy on the left (my mom) and the first time Mimi on the right (yep, that's me!)

Mason jars filled with woodland pretties were placed around the table along with mushroom place cards telling what food dishes were displayed.  Isn't it super clever how they used large marshmallows with a slit cut in the top for placecard holders?!

These darling little 'toadstools' were the star of the food show in my opinion!  String cheese stumps topped with cherry tomato halves caps and dusted with parmesan cheese.  I loved them!!


Beautiful home baked and decorated Toadstool cookies were the take home favor.

So clever...a mason jar filled with little red styrofoam beads held the forks.

Adorable name tag for Lil Nut's Mommy...and...


Lil Nut's Mimi..one for Great Grammy too!

Beautiful Woodland Bunting

Such a cute activity...newborn diapers in an antique metal basket along with Sharpies, so the ladies could write a note of encouragement on them to brighten those middle of the night feedings.  :)

Adorable wall art made by a friend from vintage game cards!!!

I love this girl.  God so blessed us with an amazing only daughter.  She will be an incredible Mommy.

Lil Nut's nursery is coming along!!  Lindsey and I had a ball starting to arrange baby's room, putting up the darling vinyl cling tree from Amazon, and unpacking her lovely gifts from the shower.  See little mallard duckie and little hedgehog on the shelf?  Precious!  And that playmat was my gift to her...a Woodland themed one that daughter couldn't do without!

Hope you enjoyed this darling baby shower.  I know I did!!!

Blessings,
Donna

Linky Parties:
Tater Tots and Jello 
Skip to My Lou  
Tip Junkie

07 08 09 10
Pin It button on image hover